
Are you struggling to keep your binders organized and easily identifiable? Do you find yourself spending valuable time searching for specific items within your binders? A well-organized binder system is crucial for efficient workflow, reduced stress, and improved productivity. That's where a Binder Labels Template comes in – a simple yet powerful tool that can transform your binder organization. This guide will explore the benefits of using a binder label template, different types available, and how to choose the perfect one for your needs. Let's dive in and discover how to streamline your binder management.
The Importance of Labeling
Effective labeling is more than just aesthetics; it's a fundamental practice for any organized individual. It's the key to quickly locating documents, materials, and information within your binders. Without clear labels, searching through a chaotic collection of papers can be a frustrating and time-consuming process. A well-labeled binder not only saves time but also promotes a more professional and efficient workflow. It's a small detail that yields significant benefits in the long run. Consider the impact on your productivity – a system that's easy to use will allow you to focus on the task at hand, rather than battling with disorganized materials. Investing in a good binder label template is an investment in your own efficiency.

Choosing the Right Binder Label Template
There's a vast array of binder label templates available, each with its own unique style and functionality. The best template for you will depend on your specific needs and preferences. Here's a breakdown of some popular options:

- Basic Labels: These are the most straightforward templates, featuring simple, rectangular labels with a single word or short phrase. They're ideal for basic organization and are often the most affordable option.
- Detailed Labels: These templates offer more elaborate designs, including multiple words, symbols, and even custom graphics. They're suitable for binders that require more detailed categorization.
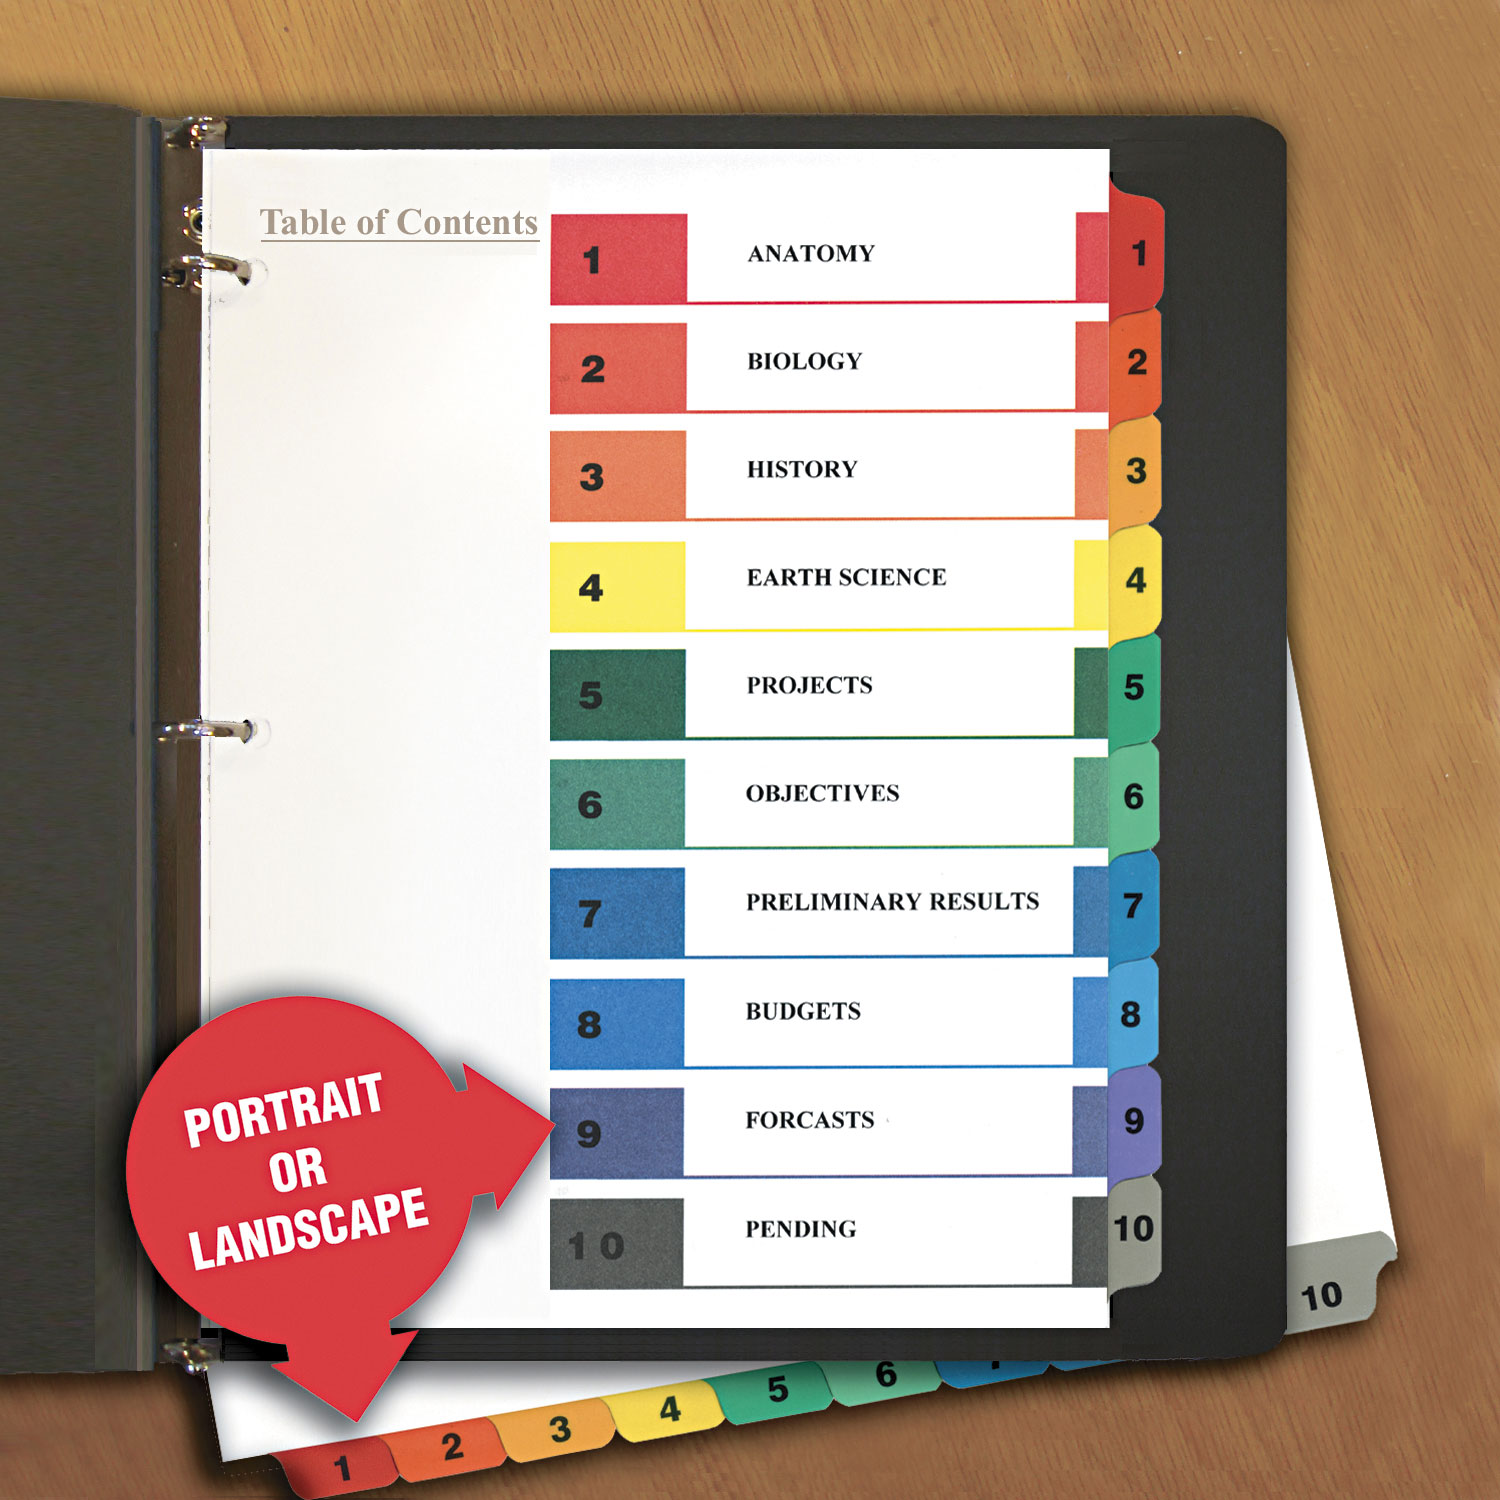
- Themed Labels: These templates are designed around specific subjects or categories. For example, a "Science" template might include labels for "Lab Notebooks," "Experiments," and "Data."
- Digital Labels: These templates are designed to be easily scanned and printed onto labels. They're a great option for digital binders and allow for easy updates.
- Customizable Templates: Some template providers allow you to customize the template with your own branding, colors, and fonts. This is a great way to create a truly unique and professional look.
Key Features to Consider When Selecting a Template
When choosing a binder label template, consider these key features:
- Size: The size of the label should be appropriate for the size of your binder. Larger binders may require larger labels.
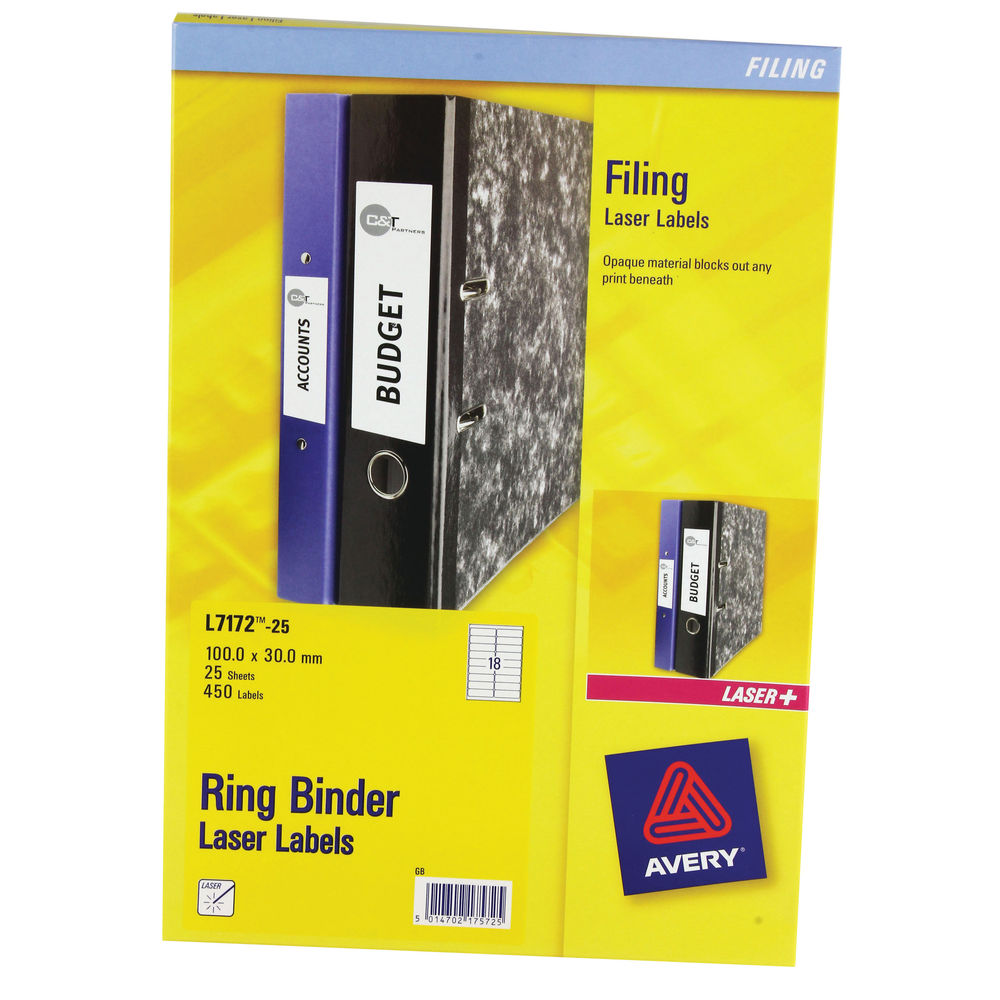
- Material: Choose a label material that is durable and resistant to fading. Vinyl labels are a popular choice for binders.
- Printability: Ensure the template is easily printable at the desired size.
- Ease of Use: Select a template that is simple to read and write on.
- Cost: Consider the cost of the template when making your decision.
Structuring Your Binder with Labels – A Practical Approach
Once you've chosen a template, it's important to structure your binder effectively to maximize its utility. Here's a suggested approach:
- Create a Consistent System: Establish a clear and consistent system for labeling. This will make it easier to find and organize your materials.
- Label Everything: Don't skip any labels! Even seemingly insignificant items should be labeled.
- Use Consistent Formatting: Maintain a consistent format for all labels – use the same font, size, and style.
- Prioritize Key Information: Label key information prominently, such as the date, author, and subject.
- Consider a Visual Hierarchy: Use different font sizes and colors to create a visual hierarchy, making important information stand out.
Beyond the Basics: Advanced Labeling Techniques
- Using Symbols: Symbols can be a quick and efficient way to categorize items. Create a library of symbols that you use frequently.
- Creating a Color-Coding System: Assign different colors to different categories or subjects. This can be a very effective way to organize your binders.
- Adding Notes: Include brief notes with each label to provide additional context.
- Digital Labeling: Utilize digital label printers to create labels that can be easily updated and shared.
Conclusion: The Power of Organized Binders
Investing in a Binder Labels Template is a worthwhile investment in your productivity and organization. By implementing a consistent labeling system, you can significantly improve your workflow, reduce stress, and make your binders a valuable resource. A well-organized binder is more than just a collection of papers; it's a tool for success. Remember to choose a template that suits your specific needs and consistently apply a clear and organized labeling system. Ultimately, the benefits of a well-labeled binder far outweigh the initial effort required to implement the system. Don't underestimate the power of a simple, well-executed labeling strategy – it can transform your entire organization process. Consider this a foundational step towards a more efficient and productive workflow.
Conclusion
The consistent application of a Binder Labels Template is a cornerstone of effective organization. It's a small, manageable task that yields substantial returns in terms of time saved, reduced errors, and increased productivity. By prioritizing clear labeling, utilizing a suitable template, and establishing a consistent system, you can transform your binders into a powerful tool for success. Continuous evaluation and refinement of your labeling strategy are also crucial for maintaining optimal organization over time. Don't hesitate to adapt your system as your needs evolve – a flexible approach is key to long-term success.
0 Response to "Binder Labels Template"
Posting Komentar